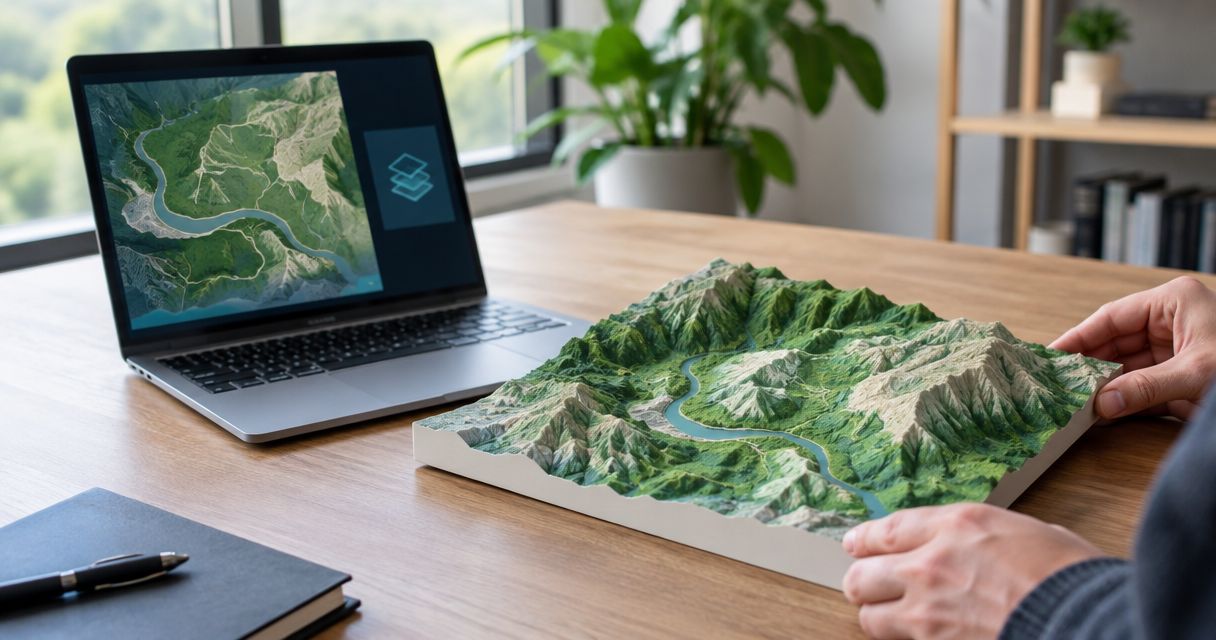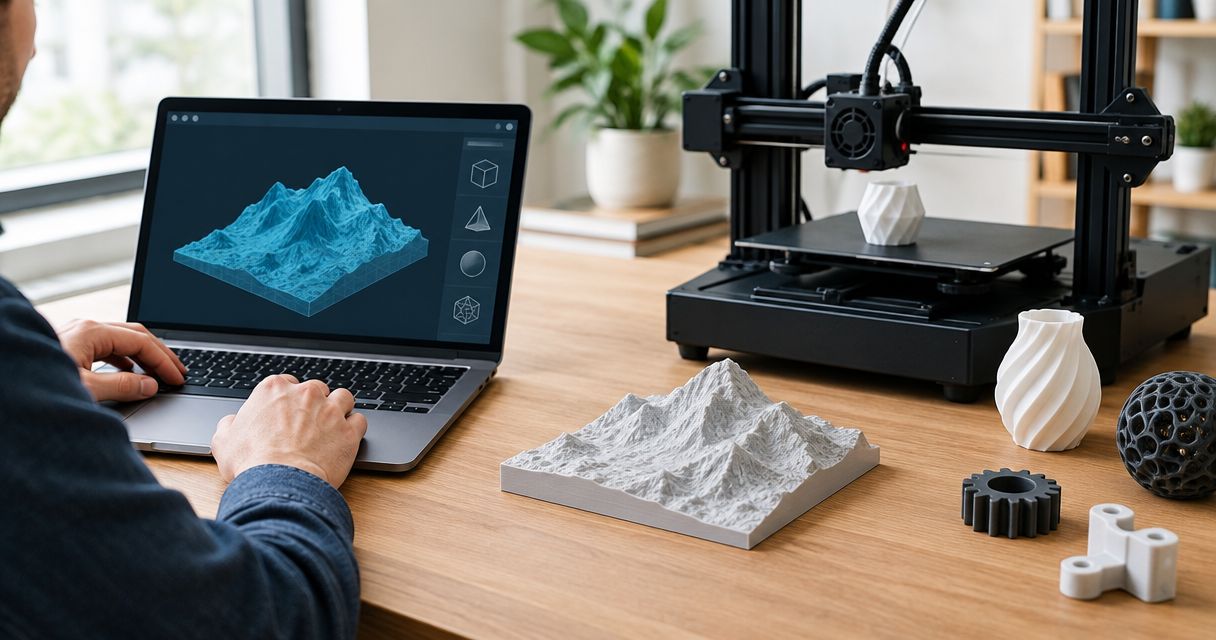
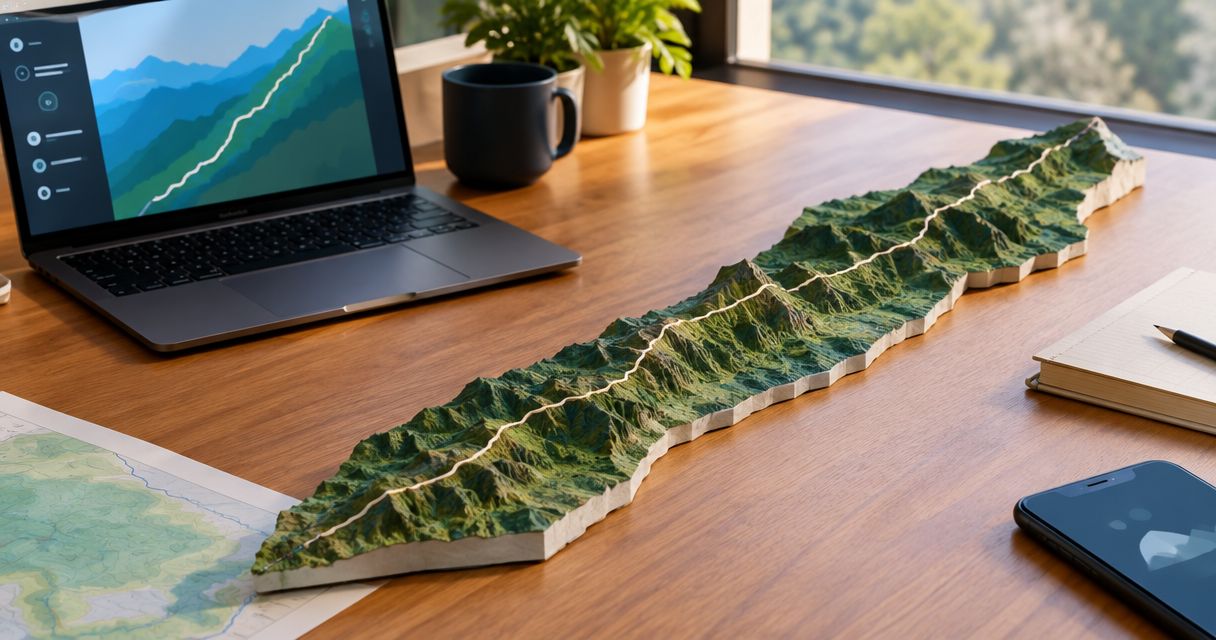
Yes, you can 3D print a map of the Appalachian Trail by combining a trail route with terrain elevation data and converting the result into a printable model. A GPX file supplies the route, but it is not itself a print-ready model. You can represent the full trail or focus on the section, summit approach, or personal hike you want to remember.
- Can you 3D print a map of the Appalachian Trail? Yes: combine the route with terrain elevation data.
- Choose the full trail for geographic context; choose a section hike to emphasize local terrain.
- A GPX file records a route; it still needs conversion into printable geometry.
- Printmyroutes suits hikers who want a custom topographic route sculpture made from their GPS data.
Why this matters
An Appalachian Trail keepsake should represent the hike you mean, not just a recognizable line. A full-trail model and a sculpture of your own section hike tell different stories. Decide which story matters before choosing the map area.
Start with the distinction between route data and a physical model. The guide to 3D printing a GPX file explains that part of the workflow. For a 2026 hiking gift, settle the route first; presentation choices come afterward.
Can you 3D print a map of the Appalachian Trail?
Yes. The essential ingredients are the trail route, terrain elevation data, and a printable model that combines them. The route identifies where the trail runs. The terrain supplies the surrounding landforms.
A recorded hike and a published trail track are different starting points. Your recording represents your activity, including recorded detours or GPS errors. A published track represents the route described by its source, not proof that someone walked it.
The main decision is how much trail to include:
| Map approach | Best for | Main advantage | Main limitation |
|---|---|---|---|
| Full Appalachian Trail | Showing the entire trail journey | Keeps the overall route together | Local turns and landforms become smaller at a fixed display size |
| Section hike | Commemorating a particular trip | Gives the chosen section more room | Leaves the rest of the trail outside the model |
| Summit approach | Remembering a climb | Centers the route and surrounding relief | Does not represent the wider hiking journey |
| Personal recorded route | Preserving your actual outing | Reflects the track you recorded | Needs checking for gaps, detours, and GPS errors |
These approaches overlap. A personal recording can cover a section hike or a summit approach. Choose the geographic extent first, then decide which route file belongs on it.
Full-trail map: best for the complete journey
A full Appalachian Trail map makes the most sense when the whole trail is the subject. It connects the journey from Georgia to Maine rather than isolating one memorable climb.
The trade-off is detail. When you fit more geography into the same physical space, individual features occupy less of that space. Choose the full trail for the overall route, not for close inspection of every switchback.
For a 2026 thru-hike keepsake, distinguish the trail as a whole from the exact track the hiker followed. Those are not automatically identical. Ask which representation the recipient wants before preparing the file.
Section-hike map: best for a personal milestone
A section-hike map centers the days, terrain, or trail segment that mattered to the hiker. It is a useful choice when the memory belongs to a particular trip rather than the entire Appalachian Trail.
The advantage is focus. The limitation is context: viewers will not see the rest of the trail unless the design includes it. Identify the section by its actual endpoints rather than relying on a broad place name.
For a gift, ask where the hike started and ended. That question is more useful than asking which mountain range the recipient likes. It also helps you avoid including an approach trail the hiker never used.
Summit-area map: best for a particular climb
A summit-area model makes sense when the climb is the milestone. Include enough surrounding terrain to show the approach rather than cropping tightly around the highest point.
A summit name alone does not identify the route. Different approaches can lead to the same destination. Use the hiker's recorded track or confirm the intended approach before choosing the map boundary.
How do you turn an Appalachian Trail route into a printable map?
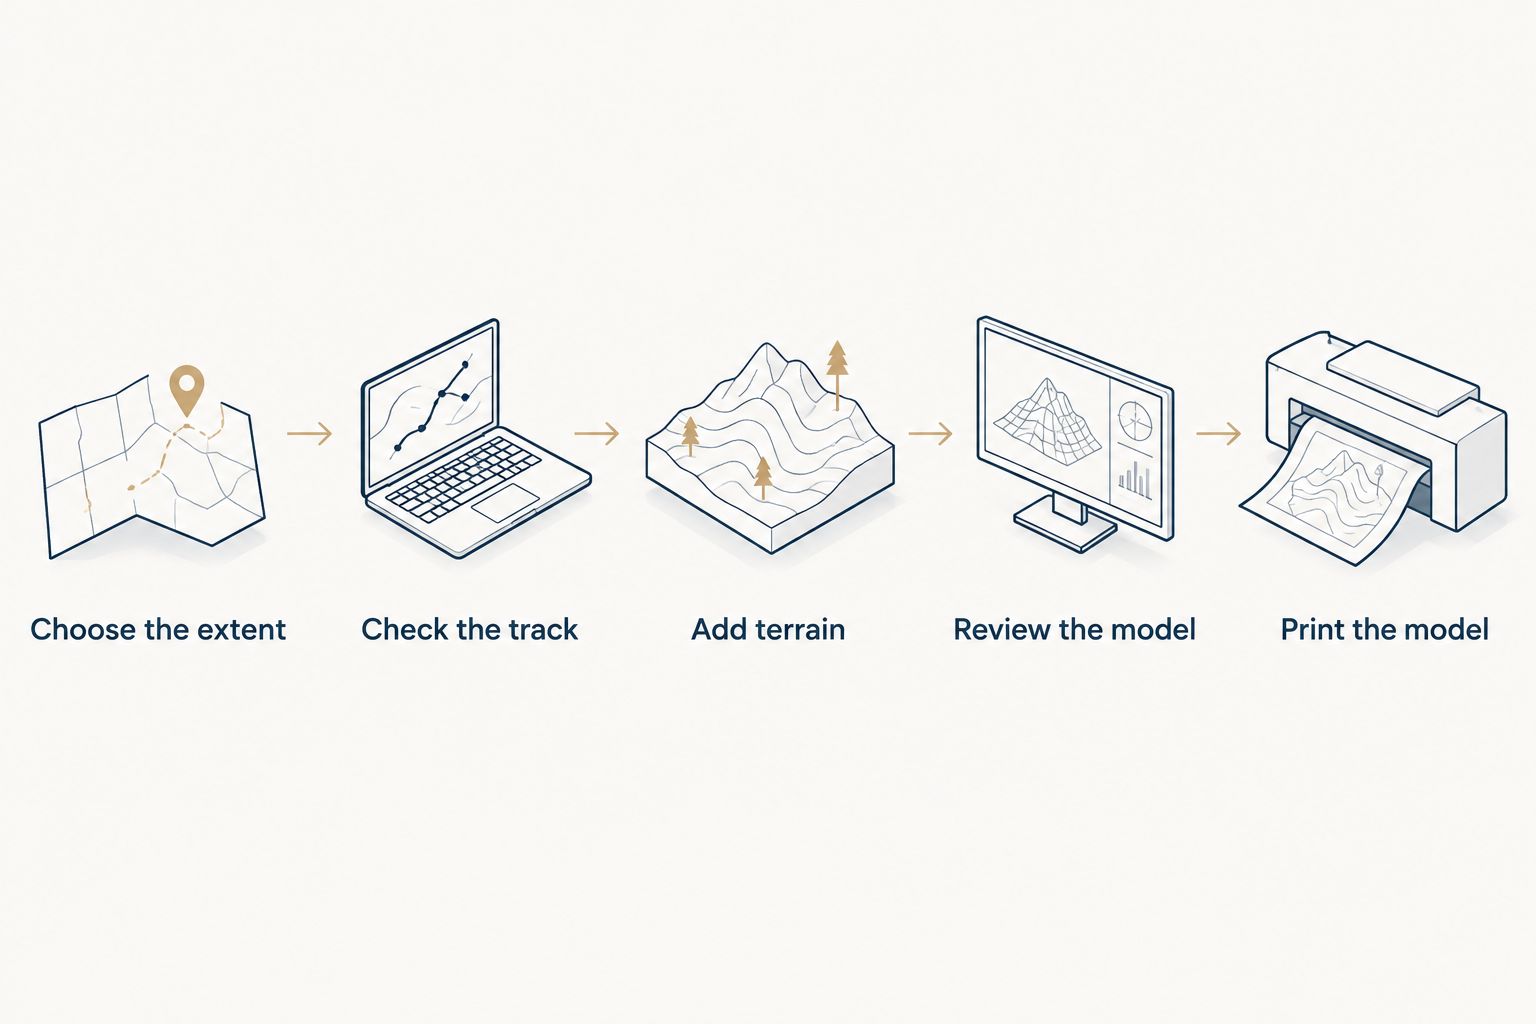
The workflow separates route selection from model production. Check the geography before spending time on presentation. Fixing the wrong trail section after model preparation means revisiting earlier decisions.
- Choose the extent. Decide whether the subject is the whole trail, a section hike, or a summit approach. Record the intended start and finish.
- Check the track. Open the GPX file on a map. Look for missing sections, unexpected straight lines, duplicate recordings, and movement recorded before or after the hike.
- Add terrain. Use terrain elevation data covering the selected area. A route's recorded elevation values alone do not describe the surrounding mountains and valleys.
- Review the model. Check the route placement, map boundary, orientation, terrain relief, and printable geometry before production.
- Print the model. Prepare the finished geometry for the chosen printer and material. Inspect the finished object against the intended route and terrain.
Treat the model review as a geographic check, not just a visual approval. An attractive mountain shape does not establish that the correct track appears on it. Compare recognizable bends, endpoints, and landmarks with the source map.
What should you check in the GPX file?
Start with continuity. A long straight connection between distant points can indicate missing recording data rather than a trail segment. Do not assume a continuous-looking line means the hike was recorded completely.
Next, inspect the endpoints. A recording can include movement around a trailhead, a parking area, or the journey after the hike. Decide whether those parts belong in the keepsake.
Finally, check the file against the intended trip. A saved planning route and a completed activity can look similar while telling different stories. For a 2026 completion gift, use the completed activity when the goal is to preserve that person's actual hike.
What should you check in the terrain model?
Check whether the map boundary includes the landforms that explain the route. A narrow crop can preserve the trail line while removing the ridge or valley that makes the hike recognizable.
Ask whether vertical relief is exaggerated. Vertical exaggeration makes elevation differences more pronounced, but it changes the relationship between horizontal distance and height. A display model should not be mistaken for an unaltered scale representation.
Also check the treatment of the route itself. It should remain distinguishable from terrain features in the finished model. A route that looks clear when enlarged on a screen needs a separate check at the intended physical size.
Why Appalachian Trail map designs vary
The same trail can produce very different sculptures because the design choices change what the object communicates. Use these factors to explain what you want before ordering or preparing a model:
- Geographic extent. A full-trail map emphasizes the journey; a smaller area emphasizes local terrain.
- Route source. A published track represents its source's route, while a personal recording represents the recorded activity.
- Track quality. Missing points, recording gaps, and stray movement affect the route shown.
- Terrain treatment. The elevation source and vertical exaggeration influence the shape of the relief.
- Physical display size. The available space determines how much room individual features receive.
- Personal context. A completion date, trip name, or summit milestone changes what you need the finished keepsake to communicate.
Do not choose the largest geographic area by default. Choose the area that explains the achievement. A shorter section can be the more faithful keepsake when it represents the hike the recipient actually completed.
Should you order a route sculpture or make the model yourself?
Choose based on whether you want the finished keepsake or the model-making project. Preparing printable terrain requires more than uploading a route to a printer. You need to handle the geographic data, model geometry, and print preparation.
| Approach | Best for | Advantage | Trade-off |
|---|---|---|---|
| Order a custom route sculpture | Hikers and gift buyers focused on the keepsake | Keeps the purchase centered on the route and personal milestone | Requires checking the provider's process and design limits |
| Prepare and print it yourself | Makers who want control of the model | Lets you adjust the terrain and print preparation yourself | Requires modeling work, printer preparation, and inspection |
Printmyroutes is best for hikers who want a custom topographic route sculpture made from their GPS data. Printmyroutes makes custom sculptures from GPX uploads or Strava route data. That makes a personal hiking track a relevant starting point.
Confirm the intended Appalachian Trail coverage before ordering. Do not assume that support for GPS routes establishes the maximum map extent, the treatment of multiple activities, or the level of detail in a full-trail model. Those decisions matter especially when the subject is an entire thru-hike rather than one recorded outing.
For a 2026 gift, prepare the file and the route description before discussing presentation. If you want to keep the gift a surprise, ask the recipient for the activity through a hiking partner only with the recipient's permission to share it.
Can you use a Strava activity instead of a GPX file?
Yes, a Strava activity can be a starting point for a service that accepts Strava route data. Printmyroutes accepts Strava as well as GPX uploads. Check that the selected activity covers the hike you intend to commemorate.
A multi-day trip needs particular attention. Do not assume separate daily activities will automatically become one continuous model. Identify the complete intended route and confirm how the selected workflow handles multiple recordings.
Can you print the whole trail without losing detail?
You can represent the whole Appalachian Trail, but fitting more geography into a fixed display size makes local features smaller. There is no design setting that preserves unlimited detail in a small physical object.
If both the full journey and a particular climb matter, decide which one the sculpture should emphasize. An overview and a close-up serve different purposes. Judge the design at its intended display size, not only in an enlarged preview.
Is a 3D-printed Appalachian Trail map suitable for navigation?
No. Treat a display sculpture as a keepsake, not as your navigation reference. Cropping, reduced detail, and exaggerated relief can all change what the object communicates about the landscape.
For a 2026 hike, use current trail information and appropriate navigation resources. A sculpture records a chosen representation of the trail; it does not establish present trail conditions or access.
FAQ
Can you 3D print a map of the Appalachian Trail from my own hike?
Yes, your recorded hike can supply the route for a terrain model. Check the GPX file for missing sections, unintended detours, and extra movement before using it.
Do I need a GPX file to order an Appalachian Trail sculpture?
You need route data accepted by the provider, not necessarily a GPX file. Printmyroutes accepts GPX uploads or Strava route data for custom topographic route sculptures.
Is a full Appalachian Trail model better than a section-hike model?
A full-trail model is better for showing the overall journey; a section-hike model is better for emphasizing a particular trip. At the same display size, the smaller geographic area gives local features more room.
Does a GPX file contain the surrounding mountain terrain?
A GPX track does not provide a complete terrain surface. It records route points and can include elevation values, but surrounding landforms require terrain elevation data.
Can I make an Appalachian Trail map as a surprise gift?
Yes, but confirm the intended hike before preparing the map. Use a route shared with permission, and check the section, endpoints, and milestone details.
Can separate hiking recordings become one trail sculpture?
Separate recordings need a workflow that handles them together. Confirm how gaps, overlaps, and multiple activities will be treated before ordering or preparing the model.
What should I check before approving a 3D trail map?
Check the route, endpoints, map boundary, terrain treatment, and appearance at the intended physical size. Match the model to the source track rather than judging only its appearance.
One last thing
The most meaningful map is not necessarily the one with the most trail on it. A recorded route can preserve the side trip, approach, or turnaround that made the outing yours. Decide whether you want a map of the Appalachian Trail or a record of your experience on it.
Before ordering, write one sentence describing the object: the hike, the endpoints, and the milestone. If that sentence is unclear, settle it before choosing the model. That is the most useful final check for a 2026 trail keepsake.