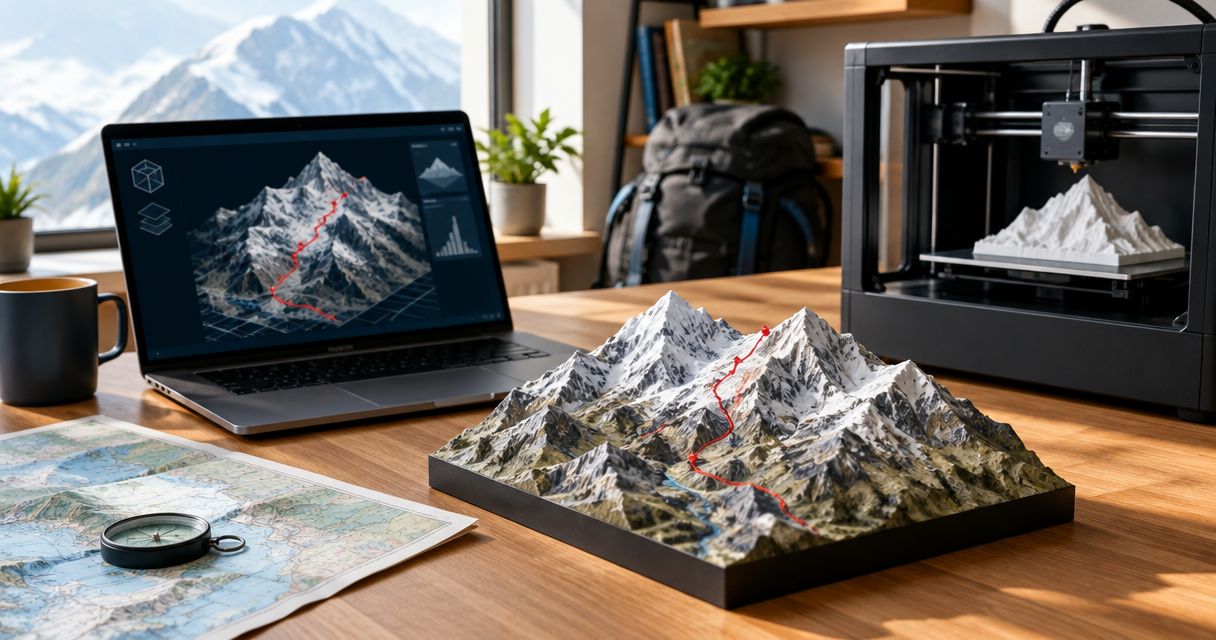
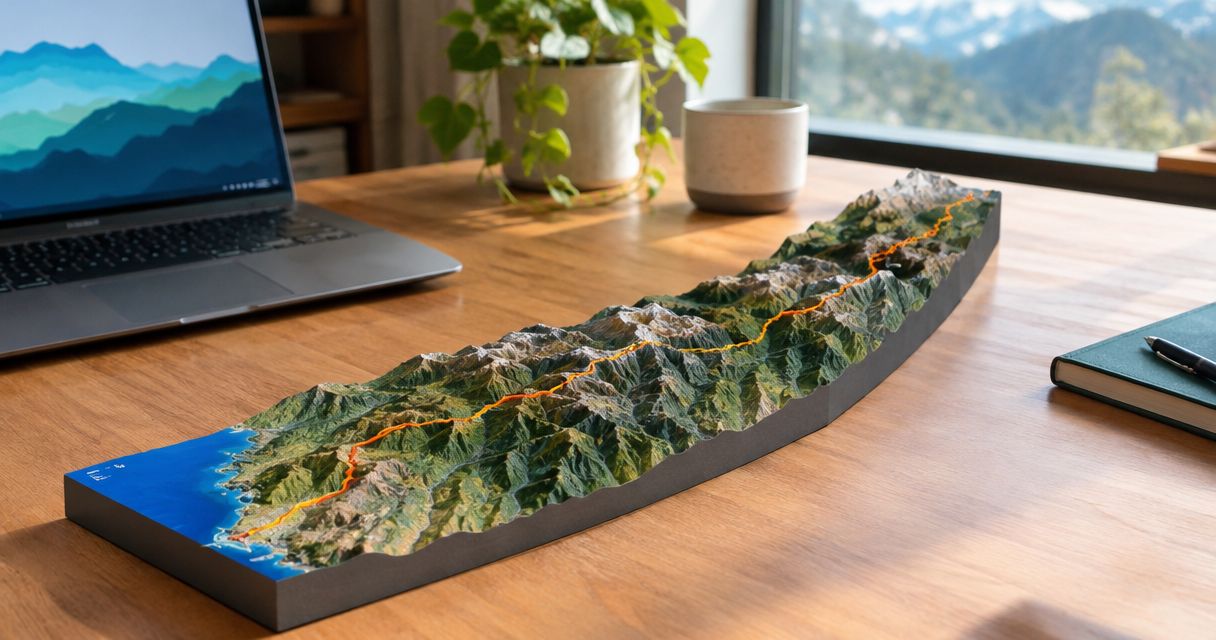
Yes, you can 3D print a map of the Pacific Crest Trail by combining a trail route with elevation data and converting them into a printable terrain model. The main decision is whether to show the entire trail or a meaningful section: a full-route sculpture emphasizes the journey, while a section gives individual ridgelines, valleys, and turns more room.
- Can you 3D print a map of the Pacific Crest Trail? Yes—combine route data with terrain elevation.
- Choose the whole Pacific Crest Trail for the journey; choose a section for more visible terrain detail.
- A GPX file records the route, but a topographic sculpture also needs surrounding elevation data.
- Printmyroutes makes custom route sculptures from GPX uploads or Strava for hikers commemorating a trail.
Why this matters
A Pacific Crest Trail sculpture has to communicate an enormous journey in a small physical object. The Pacific Crest Trail Association describes the trail as approximately 2,650 miles, or 4,265 kilometers, through 3 states: California, Oregon, and Washington.
That scale creates a design trade-off. Showing more trail means giving each individual feature less space. Decide whether your keepsake should explain where you went or capture the terrain you remember most.
If you are starting with recorded hiking data, the guide to 3D printing a GPX file explains the distinction between a route file and a printable object.
Can you 3D print a map of the Pacific Crest Trail?
Yes. You need a route line, surrounding terrain data, and a printable model that combines them. A GPX track supplies the path; elevation data supplies the land beneath it.
For a 2026 keepsake, start with the hike you actually want to commemorate. A complete trail outline and your recorded journey are different source materials, especially if your hike included alternate routes, closures, or sections traveled separately.
| Map format | Best for | Main advantage | Main limitation |
|---|---|---|---|
| Entire Pacific Crest Trail | Commemorating a complete journey | Shows the trail's overall geographic sweep | Individual terrain features receive less space |
| One continuous section | Remembering a particular stretch | Gives local terrain and route turns more room | Leaves the rest of the trail outside the model |
| A summit or memorable day | Giving a highly personal hiking gift | Focuses attention on a specific achievement | Does not represent the complete journey |
None of these formats is automatically better. Match the model's geographic scope to the memory, then assess whether the terrain remains readable at the intended display size.
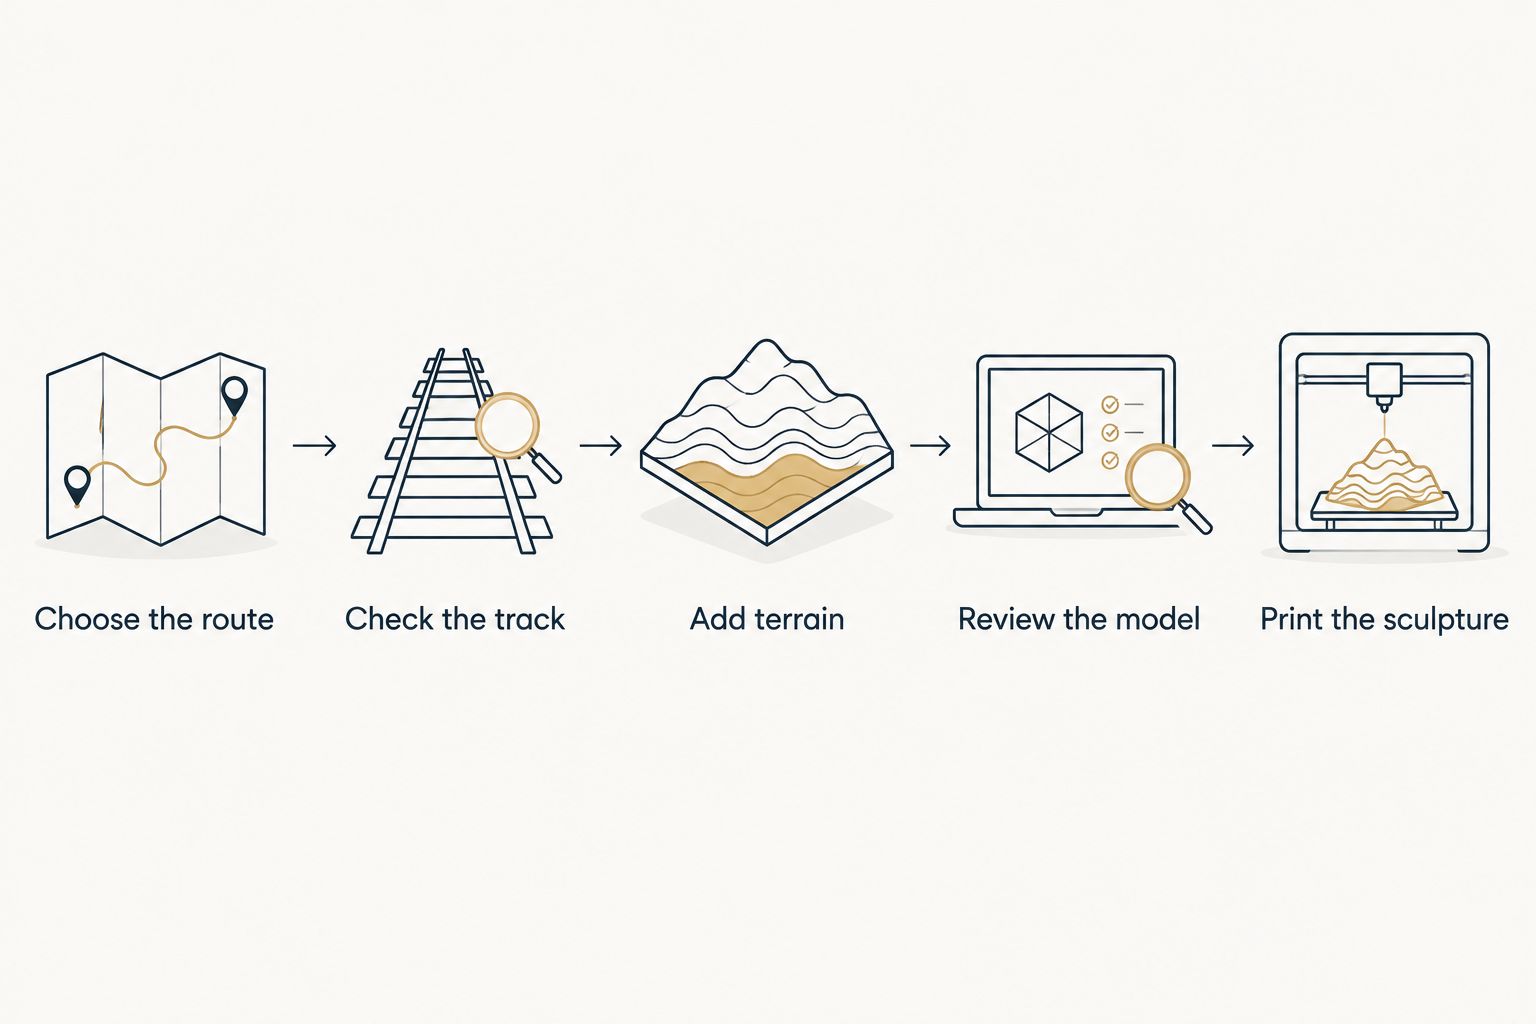
Build the model in this order
- Choose the route. Decide whether the object represents the full trail, a section hike, or a particular day. Establish the start and finish before preparing files.
- Check the track. Look for gaps, unrelated activities, obvious GPS jumps, and private locations. Preserve an original copy before making edits.
- Add terrain. Combine the route with elevation data covering the surrounding landscape. The track alone does not describe adjacent mountains or valleys.
- Review the model. Check the geographic crop, visible route, terrain shape, and proposed personalization before approving production.
- Print the sculpture. For a DIY project, prepare the model for your printer. For an ordered sculpture, confirm the file requirements and approval process with the maker.
A file opening successfully is not the same as the model telling the right story. Inspect the start, finish, and distinctive turns before you approve the physical version.
Entire Pacific Crest Trail: best for the complete journey
Choose the full trail when the achievement is the journey itself. Its long north–south shape becomes the central feature, rather than a particular summit or valley.
The limitation is geographic compression. Fit the entire trail into a smaller display footprint and each bend, ridge, and drainage occupies less space. Enlarging the surrounding terrain does not solve that trade-off without also enlarging the object.
For a 2026 thru-hike keepsake, distinguish between the trail's general alignment and the path the hiker recorded. Use the recorded journey when the gift is about that person's hike. Use a general trail alignment when the subject is the Pacific Crest Trail itself.
Before ordering, ask whether the proposed shape works in the intended display location. A long, narrow route needs a different composition from a compact loop or a single mountain.
One trail section: best for readable terrain
Choose a section when a particular landscape carries the memory. A continuous stretch can give mountain forms, passes, and route changes more room than a whole-trail composition at the same physical size.
The drawback is exclusion. A section cannot also tell the full geographic story of the hike. Choose its boundaries deliberately rather than cropping wherever the route happens to fit.
Useful boundaries include a trailhead, resupply stop, pass, or the endpoints of a recorded trip. Keep enough surrounding landscape to make the selected terrain understandable; the route should not feel accidentally clipped.
For a gift, ask which stretch the recipient talks about most. That answer is more useful than assuming that a complete trail map is always the most personal option.
A summit or memorable day: best for a personal gift
Choose a single outing when the story is concentrated in one achievement. A first backpacking trip, a difficult climb, or a day shared with someone important can make a focused keepsake.
The advantage is specificity. The limitation is context: someone unfamiliar with the hike will not see the entire Pacific Crest Trail journey in that object.
Keep the description honest. A sculpture of a day near the trail should commemorate that day, not imply completion of the whole route. Confirm the actual track, especially when a summit approach leaves the main trail.
For a 2026 gift, separate the date the hike happened from the date the gift is given. Any requested inscription should describe the achievement accurately.
Why Pacific Crest Trail map detail varies
Detail depends on the source data and the decisions made when turning it into a physical object. More recorded points do not automatically produce a more readable sculpture.
- Geographic coverage. A full-trail composition gives each feature less space than a smaller section at the same display size.
- Terrain data. Elevation data determines the underlying landform; the route track cannot supply the surrounding landscape by itself.
- Track quality. GPS jumps, missing sections, and unrelated activities change the path being represented.
- Terrain crop. A tight crop emphasizes the route. A wider crop provides more landscape context but reduces the route's share of the object.
- Vertical scaling. Exaggerating elevation makes relief more visible, but changes the relationship between horizontal and vertical distances.
- Printing limits. Features that appear distinct in a digital model still need enough physical separation to remain distinct in print.
Ask to see the terrain and route together before approving the design. A clean route line cannot compensate for an unhelpful crop, and dramatic relief cannot correct the wrong track.
What should you check before ordering a trail sculpture?
Prepare a clear brief rather than sending a file without context. The maker needs to know which journey the file represents and what the finished object should emphasize.
Include the route source, intended start and finish, full-trail or section preference, and any requested personalization. Describe the available display space without assuming that every size or layout is offered.
Ask which details require confirmation before production. Keep requests separate from confirmed features: naming a desired inscription, material, or format does not establish that the maker offers it.
For a 2026 order, confirm the current production process and delivery arrangements directly. Do not plan a gift handover around an assumed turnaround.
Printmyroutes is best for hikers who want a custom topographic route sculpture made from their GPX or Strava data. Printmyroutes sells these personalized keepsakes; the practical trade-off is that the result depends on selecting the right route and a suitable geographic scope.
Plan your trail sculpture
Ask about using your Pacific Crest Trail route for a custom topographic keepsake.
Do you need a GPX file for a Pacific Crest Trail sculpture?
A GPX file is a useful way to provide the path you want represented, but it is not a finished printable model. It must be combined with terrain geometry for a topographic sculpture.
If the hike spans separate activity files, identify which files belong to the chosen section. Ask how they should be submitted rather than assuming that separate tracks will be joined automatically.
Do not silently fill gaps in a personal hiking record. Decide whether the object should preserve the recorded track or represent a continuous trail alignment, and make that choice explicit.
Can you print the map yourself?
Yes, you can print a Pacific Crest Trail terrain model yourself if you can prepare printable geometry and operate a suitable printer. You still need to select the route, obtain terrain data, create the model, and prepare it for printing.
DIY suits someone who wants control over modeling and fabrication. Ordering a sculpture suits someone whose priority is the finished keepsake; you still need to provide a clear brief and verify the design details.
Do not treat a GPX export as a print-ready file. Route coordinates and a solid printable object are different things.
Is a full-trail map better than a section map?
A full-trail map is better for showing the overall journey; a section map is better for giving a particular landscape more space. Neither format can maximize coverage and local detail within the same footprint.
Choose the whole trail if the recipient values seeing the complete path. Choose a section if a pass, valley, or shared stretch is the story you want the object to tell.
FAQ
Can you 3D print a map of the Pacific Crest Trail from my hiking data?
Yes, hiking route data can supply the path for a Pacific Crest Trail sculpture. A topographic model also needs surrounding elevation data and conversion into printable geometry.
How long is the Pacific Crest Trail?
The Pacific Crest Trail is approximately 2,650 miles, or 4,265 kilometers, according to the Pacific Crest Trail Association. It passes through California, Oregon, and Washington.
Is a GPX file enough to print a topographic map?
No, a GPX file alone is not a print-ready topographic map. It supplies route information, while terrain data and model preparation supply the surrounding landform and printable object.
Should I choose the entire Pacific Crest Trail or just my favorite section?
Choose the entire trail to emphasize the journey, or a favorite section to emphasize local terrain. The right choice depends on the memory you want to preserve and the intended display size.
Can I use Strava data for a custom route sculpture?
Printmyroutes accepts Strava or GPX route data for custom topographic sculptures. Confirm how to provide the activities that cover your selected hike before placing the order.
Can I make a Pacific Crest Trail sculpture as a surprise gift?
Yes, but confirm the correct route and achievement without relying on assumptions. A favorite section, an actual recorded hike, and the complete trail represent different stories.
Can a printed terrain sculpture replace a hiking navigation map?
No, treat a terrain sculpture as a keepsake, not a navigation system. It does not provide the current trail conditions, closures, or on-trail positioning needed for trip decisions.
One last thing
The most recognizable terrain is not always the most meaningful terrain. Before choosing the crop, ask the hiker which moment they would repeat.
For a 2026 Pacific Crest Trail keepsake, choose the route that explains the memory, not automatically the route that covers the most ground. Then check that the file and the proposed model tell that same story.